
Follow Me !
Best-Ever Easy Sushi Cups: Quick, Delicious Healthy Savory Snack

These super easy sushi cups are a fun, wholesome way to enjoy sushi-inspired flavors without rolling a single piece. Crisp nori, seasoned rice, and fresh toppings come together in convenient little cups that make a satisfying snack, light lunch, or party appetizer.
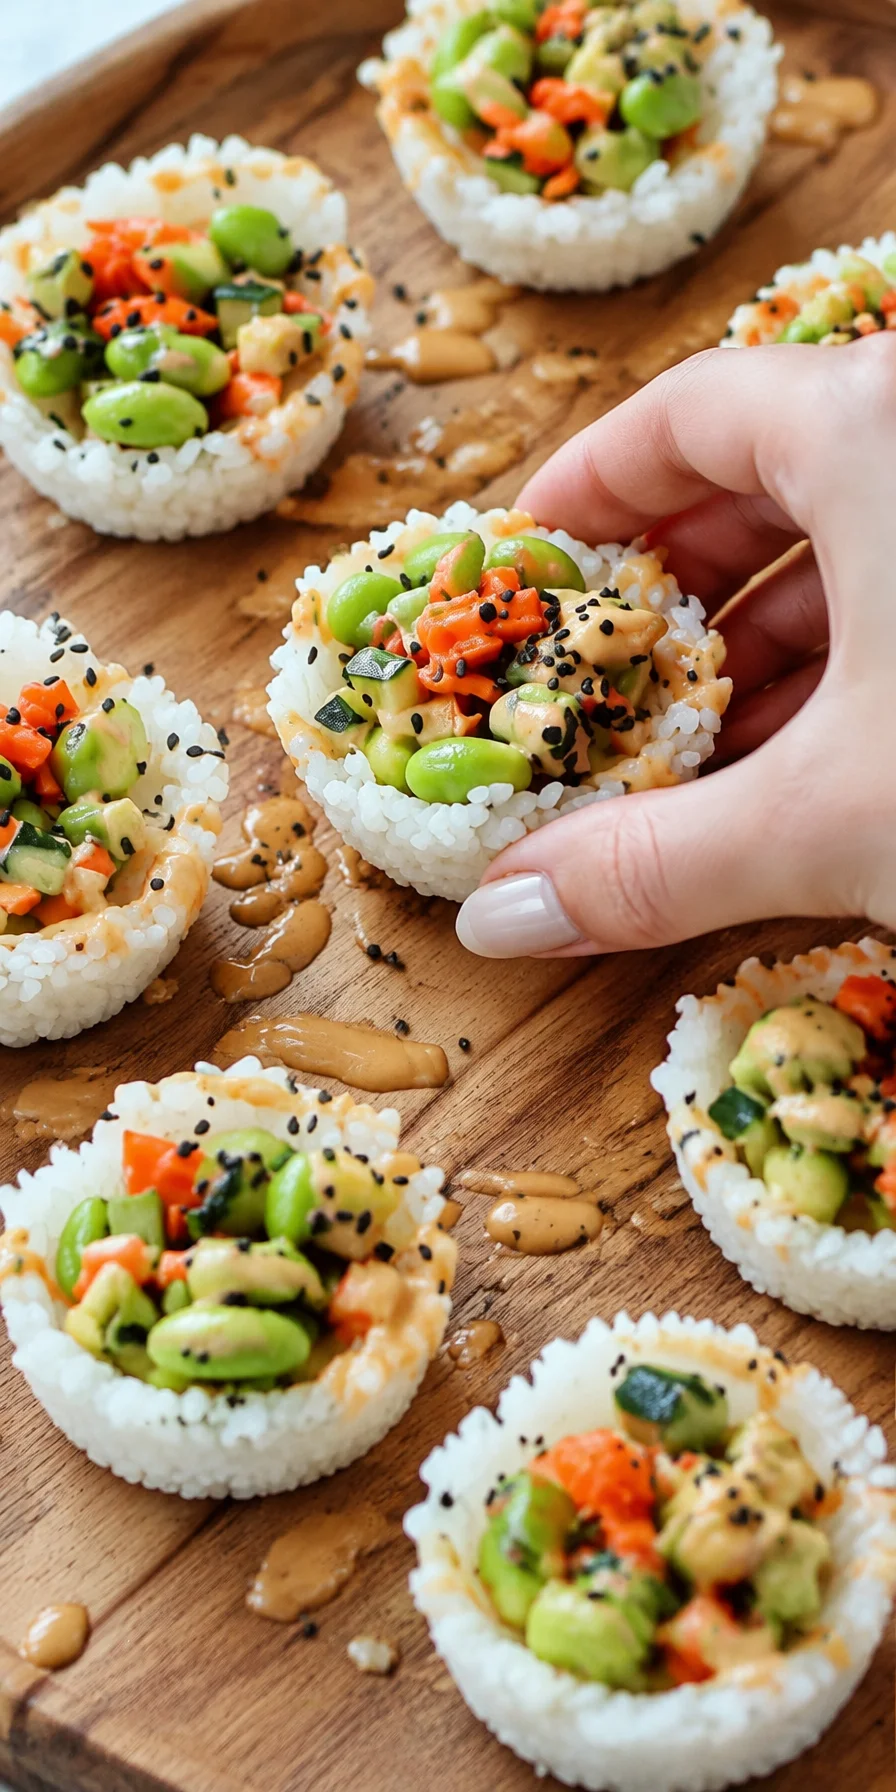
Why Make This Recipe
- No rolling required: The cup shape makes sushi simple, even for beginners.
- Fresh and satisfying: Rice provides gentle, lasting energy, while vegetables and protein add texture and flavor.
- Perfect for sharing: Serve these bite-sized cups at parties, lunchboxes, or casual gatherings.
- Easy to customize: Use your favorite sushi fillings, sauces, and toppings based on what you have available.
- Naturally portioned: Individual cups make it easy to serve and enjoy a balanced snack.
Ingredients
Use the following flexible ingredient guide to create your sushi cups:
- Nori sheets, cut into small squares
- Cooked sushi rice or short-grain rice
- Rice vinegar
- A pinch of sugar
- A pinch of salt
- Cucumber, finely diced or sliced
- Avocado, diced
- Carrot, cut into thin matchsticks
- Cooked shrimp, crab, salmon, tuna, tofu, or another preferred protein
- Sesame seeds
- Soy sauce or tamari, for serving
- Optional spicy mayonnaise, sriracha, pickled ginger, or wasabi
Choose a combination of fillings that offers different colors and textures. Creamy avocado, crisp cucumber, and a savory protein create a particularly delicious balance.
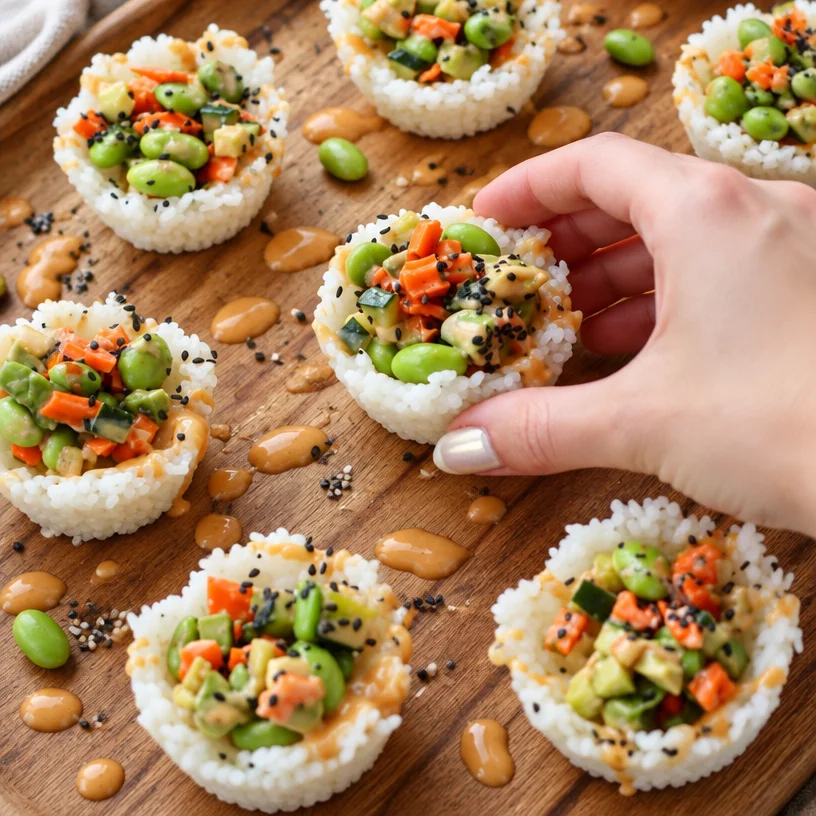
How to Make It
Prepare the rice.
Cook the sushi rice according to the package directions. While it is still warm, gently mix it with a small amount of rice vinegar, sugar, and salt. Allow the rice to cool until it is warm or at room temperature.Prepare the fillings.
Dice or slice the vegetables and protein into small pieces. Keeping the ingredients bite-sized makes the cups easier to eat and helps every bite contain a little of each filling.Shape the nori cups.
Cut the nori sheets into squares. Press each square into the compartments of a mini muffin pan or small silicone molds, overlapping the corners slightly if needed. Handle the nori gently so it does not tear.Add the rice.
Spoon a small amount of seasoned rice into each nori cup. Press it down lightly with the back of a spoon, but avoid packing it too firmly.Add the toppings.
Layer the cucumber, avocado, carrot, and your chosen protein over the rice. Finish with sesame seeds or a small drizzle of spicy mayonnaise.Serve immediately.
Add soy sauce, tamari, wasabi, or pickled ginger just before serving. The nori is best while it still has a pleasant crisp texture.
How to Serve It
Serve the sushi cups as a light snack, appetizer, or easy lunch. Arrange them on a platter with small bowls of soy sauce, spicy mayonnaise, wasabi, and pickled ginger for dipping.
For a fuller meal, pair them with edamame, miso soup, seaweed salad, or a simple cucumber salad. A sprinkle of toasted sesame seeds, sliced green onion, or chili flakes adds an attractive finishing touch.
How to Store It
Sushi cups are best enjoyed soon after assembly because moisture from the rice and toppings can soften the nori. If you need to prepare them ahead, store the rice, fillings, and nori separately in airtight containers in the refrigerator.
Refrigerate cooked seafood, tofu, vegetables, and rice promptly, and use them within a safe timeframe. Assemble the cups just before serving. Freezing assembled sushi cups is not recommended, as the rice can become dry and the vegetables may lose their fresh texture.
Helpful Tips
- Cool the rice before assembling. Warm rice is fine, but hot rice can make the nori soft too quickly.
- Avoid overfilling the cups. A modest amount of rice and toppings keeps the cups neat and easier to eat.
- Use dry fillings. Pat vegetables and seafood dry before adding them to prevent soggy nori.
- Cut everything small. Uniform pieces create better balance and make each cup more comfortable to pick up.
- Assemble close to serving time. This preserves the crisp texture of the nori.
Optional Variations
- Spicy tuna cups: Mix canned or cooked tuna with a little mayonnaise, sesame oil, and sriracha.
- Vegetarian sushi cups: Replace seafood with marinated tofu, edamame, mushrooms, or extra avocado.
- Teriyaki-style cups: Add cooked chicken or salmon with a small drizzle of teriyaki sauce and sliced green onion.
- Crunchy topping: Finish with crispy onions, roasted peanuts, tempura flakes, or toasted sesame seeds.
- Brown rice version: Use cooked brown rice or quinoa for a more hearty, fiber-rich base.
Frequently Asked Questions
Can I make sushi cups without a muffin pan?
Yes. Shape the nori squares by hand and place them in small serving cups or on a flat platter. You can also use silicone cupcake liners to help hold their shape.
Can I prepare sushi cups in advance?
You can prepare the rice and fillings in advance, but assemble the cups shortly before serving. This helps keep the nori from becoming soft.
What protein works best in sushi cups?
Cooked shrimp, crab, salmon, tuna, tofu, and imitation crab all work well. For food safety and convenience, cooked or shelf-stable proteins are easy choices.
Can I use regular rice instead of sushi rice?
Yes. Short- or medium-grain rice gives the best texture because it holds together well, but regular cooked rice can also be used.
How can I keep the avocado from browning?
Toss diced avocado gently with a little lemon or lime juice. Add it shortly before serving for the freshest appearance and flavor.
Are sushi cups suitable for lunchboxes?
They can be, but pack the nori, rice, and wet toppings separately when possible. Assemble them just before eating to maintain the best texture.